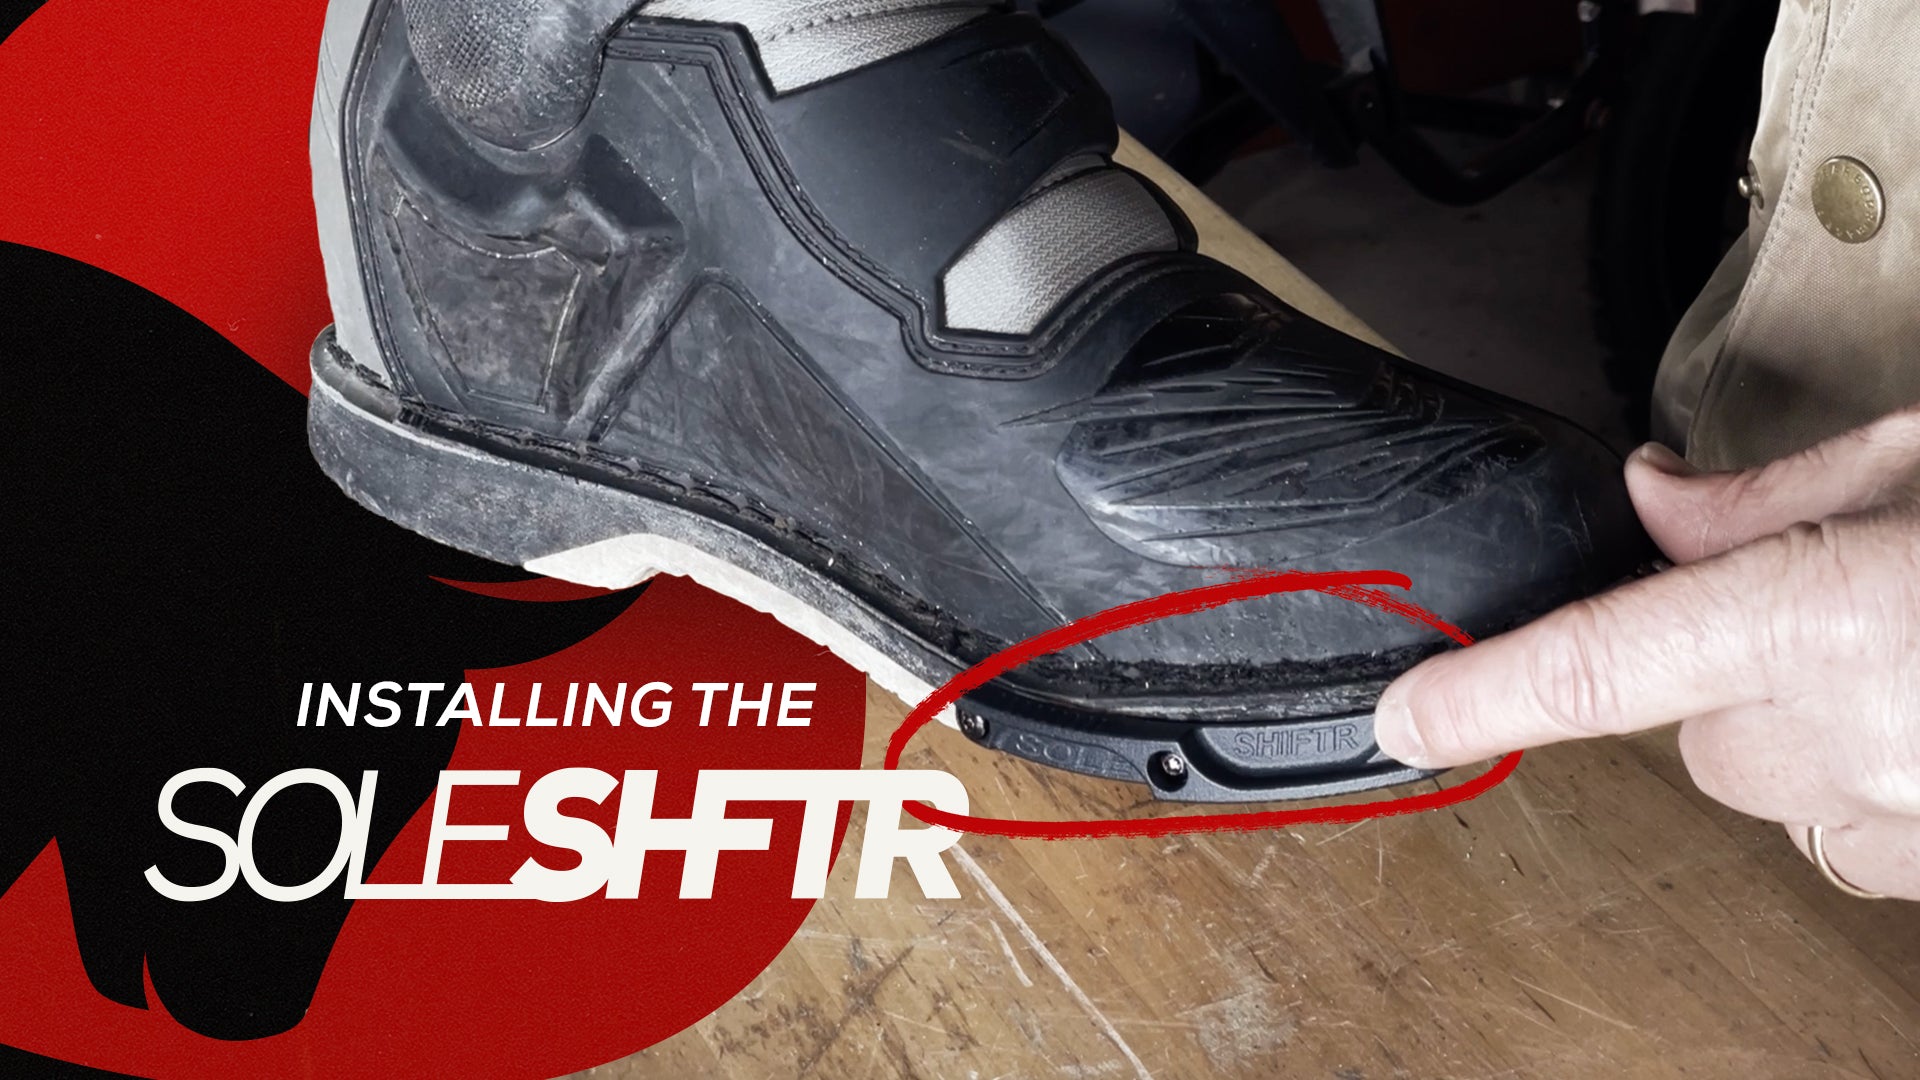
Watch as Ian takes you through a step by step guide on how to install the SOLESHFTR onto your motorcycle boots. You can have this done within 15 minutes.
Installation instructions
What you'll need
Your chosen boots with the correct SOLESHFTR version for the type of sole (regular or moulded)
Electric screwdriver
Your bike so you can test fitment
15-20 minutes
Please note: The video above shows 3M tape backing which after product updates and further testing we've decided it was unnecessary, fiddly, irrelevant, brain fart idea and no longer required. Please ignore this part of the installation.
Step One
Get your bike onto the centre stand and sit in your most comfortable position.
Take note or mark where the peg sits in relationship to your boot
Offer the SoleSHFTR rear section so the peg is in the centre
Line the bottom of the SoleSHFTR with the bottom of your boot
Locate the three screws provided and offer them in part way
Stand up on your bike, offer the front lower section toward the peg, to check you are reasonably close.
Tighten up the three screws.
Step Two
Test the installation and fixings on a short ride, ask yourself:
Is the peg in the right position?
Do you have to raise or lower the peg on the bike to suit your gear change?
Make the adjustments and test ride, until you have the SoleSHFTR and the peg in the most comfortable alignment.
Choosing a selection results in a full page refresh.